
If you’re not sure what a Dedicated Integration User is or you’re not convinced there’s value in having an Integration User, check out our previous blog post: Why You Need a Dedicated Salesforce Integration User. Today’s post is aimed at Sales Operations leaders and Salesforce Administrators who are interested in the cost savings and increased security that creating an Integration User for your Salesforce instance delivers.
Overview
Step 1: Create a Profile
Step 2: What Permissions to Enable
Step 3: Create your User
Step 4: Validate your Multi-Factor Authentication (MFA) Settings
Wrap up
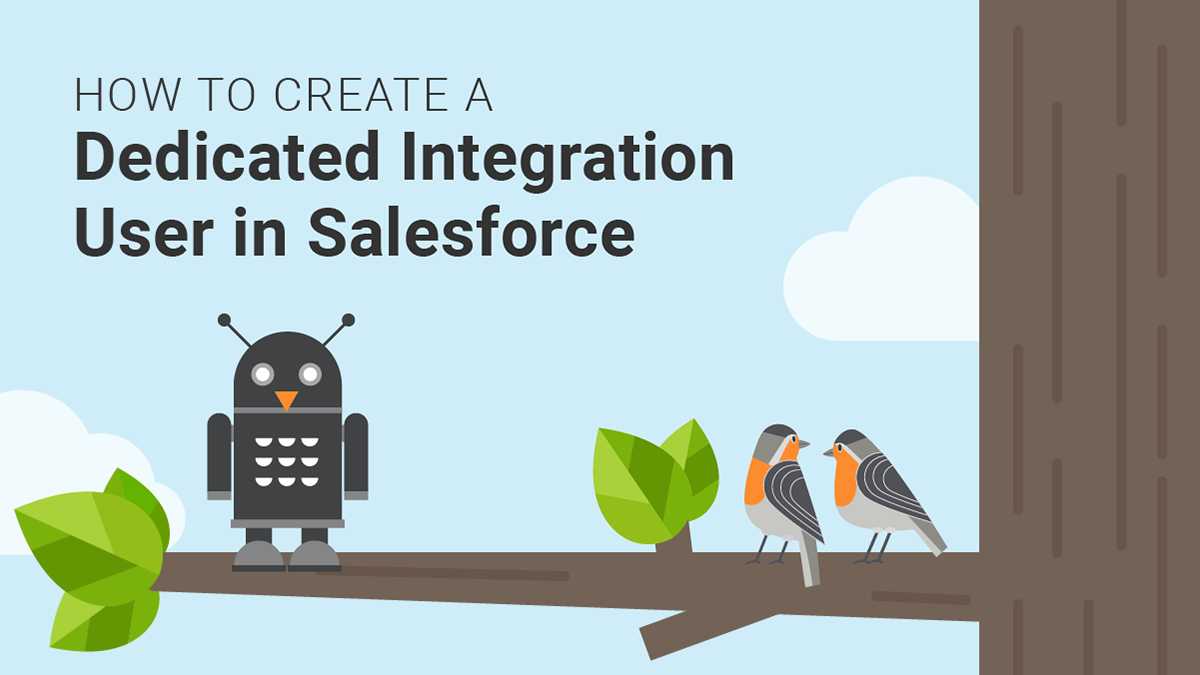
Read this post for a step by step guide on how to create a Dedicated Integration User with screenshots to make the process easy to follow.
Step 1: Create a Profile
Creating your User
Your integration user(s) have unique needs and need a unique Profile in Salesforce. When creating an Integration User give them a “robot” or similar image and make sure their Chatter profile explains the purpose of the license. Follow these steps to create the user:
1. Start by cloning your “Standard User” NOT the System Administrator profile
2. Then make sure the following are set up:
- No access to Setup area of Salesforce
- Password never expires
- Modify All on all records that your integrations(s) need to update, in particular, keep in mind custom record types that are deployed by integrations’ own packages
- Broad access to reports/dashboards
- Be able to post to Chatter
Step 2: What Permissions to Enable
System Permissions
Next, you’ll be prompted to select what system permissions should be enabled for this Integration User. These aren’t hard and fast rules, but making the assumption you are using marketing automation, data enrichment and other popular tools, you’ll want to enable the following:
Enabled
- API REST Services and API Enabled should be checked
- Create, Customize and Schedule Reports and Dashboards and folders
- Edit HTML templates
- Password Never Expires – doing this prevents the password from expiring while someone is out of the office with no one available to update it across integrations
- Put a recurring meeting in your calendar to change the password and list every integration tied to it. Include at least two people on the invite (you and someone else) in case someone is on vacation or has left.
- Transfer Records
- Update Records with Inactive owners
- View All Data, Modify All Data, View All Users
- View Roles and Role Hierarchy
Here are the set of system permissions that SHOULD NOT be enabled for your Integration User:
Not Enabled
- Assign permission sets
- Bulk API hard delete
- Create and upload changesets
- Deploy changesets
- Lightning experience user → on the User level
- Manage Auth providers
- Manage IP Addresses
- Manage multi-factor authentication in API or User Interface
- Manage Package Licenses
- Manage Profiles and Permission sets
- Manage Roles
- Manager Users
- Manage login access and password policies
- Reset user passwords and unlock users
- Require multi-factor authentication for API logins and User Interface logins
- View encrypted data
- Weekly Exports
App Permissions
Next, you’ll be prompted to select what general User Permissions should be enabled for this Integration User. Enable the following:
Enabled
- Convert Leads
- Edit Events and Tasks
- Import Leads and Cases
- Manage Leads
- Run Reports
- Transfer Cases and Leads
- API only user*
*The API Only User setting is primarily used for Integration users, however, there are pros and cons to using this security feature. The main pro is it disallows anyone who may have access to this users credentials to log in through the User Interface and gain access to information they should not otherwise see. In short, it is more secure.
In comparison, the con is the only way to reset the password for an API only User is for an Admin to click “Reset Password” on the user page and go through the email process to change the password or use the API.
Step 3: Create your User
Now that the Profile and Permission Sets have been created it’s time to create your User. When you set up your Dedicated Integration User you clone a “standard user” profile instead of using the System Admin’s profile. When creating an Integration User give them a “robot” or similar image and make sure their Chatter profile explains the purpose of the license.
Step 4: Validate your Multi-Factor Authentication (MFA) Settings
As Salesforce is now requiring MFA for all orgs, you need to ensure that your integrations are not broken due to a verification request. By default, Salesforce does not require MFA for API only users. However, if your org has the permission set “Multi-Factor Authentication Login Requirements for API Access” enabled, you will need to assign the “Waive Multi-Factor Authentication for Exempt Users” system permission to the Dedicated Integration User. For the complete documentation on this permission and its limitations, refer to the Salesforce documentation provided.
Wrap Up
Once you have the Integration User(s) created, it’s best practice to migrate one integration at a time. Start with the lowest risk integrations first and work your way up. Ensure Permission Sets originally applied to the original Admin for each integration are also applied to this user. Watch for failed logins and check your audit trail.
Organizations can be reluctant to invest in having a dedicated license for integrations, but the ROI of doing so is fantastic. Not only in terms of decreasing risk, but also data integrity and the cost savings in simplifying the maintenance of your instance. Whether you have an internal Salesforce Administrator or use a Salesforce Partner, the time savings of having an Integration User provides a massive time and cost savings.
The ROI of having an Integration User is undeniable. While there is an upfront cost, a Dedicated Integration User pays for itself in the long-term many times over. Not only in terms of decreasing risk but also data integrity and the cost savings in simplifying the maintenance of your instance. Paying approximately $2,000 a year for an extra license is a small price compared to the employee or consultant’s time spent digging into Salesforce to try and produce accurate reports.
Have questions about Salesforce security? Sign up for our newsletter! We send out a monthly recap of our latest Salesforce content, including articles on security best practices, actionable insight on Salesforce optimization for enterprises, and more.