You’ve likely been hearing a lot lately about the importance of building a zero-party data strategy. At CloudKettle, we’re constantly thinking of ways that we can help our clients build engaging customer experiences that allow them to collect valuable zero-party data using Salesforce Marketing Cloud.
My absolute favourite way to collect zero-party data is by building custom web apps and widgets using VueJS and CloudPages. This combination gives us the ability to create virtually any web experience we can dream, without relying on third-party contesting, form, or landing page services.
In this post, I’m going to show you how you can build really awesome full-on web apps using Vue JS (or the front-end framework of your choice) and CloudPages – with no additional back-end or hosting services required.
Ivan over at ampscript.xyz recently posted a great primer on how to easily load VueJS via a CDN and build a simple form with no build step. This is a great way to get started if you’re new to Vue. However if you’re a more seasoned developer and want to take advantage of all that Vue has to offer, follow along as we build on his example.
TLDR
- VueJS and CloudPages are a powerful combination we can use to build amazing customer experiences that collect valuable zero-party data.
- We can use a service like ngrok to improve the developer experience while developing CloudPages.
- Data Extensions will act as our database, and a Code Resource hosted on CloudPages will act as the API that powers our application.
- We can disable code splitting in Vue so that we can simply copy and paste the JS of a single file to update/deploy our application.
- With this workflow, we can easily import any NPM libraries we need into our project.
What We’re Building
We’ll be using VueJS and Tailwind CSS to build a simple newsletter signup form, and then progressively enhance it both on the frontend and the backend to accommodate some simple contesting functionality.
Disclaimer: This is a simplified example to illustrate how a full Vue app can run on CloudPages. While it may not showcase all Vue best practices, it provides a practical, hands-on introduction to the possibilities of Vue with CloudPages.
Let’s get started.
Pre-requisites
To follow along, it is assumed that you
- Have an intermediate level of Javascript knowledge
- Have Node and NPM installed
- Have an existing Marketing Cloud account to work in
Note: I won’t include every single step in this post, so if you get lost, please refer to the Github repo provided.
Github Repository: https://github.com/Cloudkettle/sfmc-vue-form
Setting up our project
Let’s get our new Vue project set up by typing the following command in our terminal:
> npm init vue@latest
This will create the default Vue scaffolding for our project. For simplicity, we’ll choose ‘No’ on all of the extras it prompts us to install.
✔ Project name: ... sfmc-vue-form

✔ Add TypeScript? ... No / Yes

✔ Add JSX Support? ... No / Yes

✔ Add Vue Router for Single Page Application development? ... No / Yes

✔ Add Pinia for state management? ... No / Yes

✔ Add Vitest for Unit Testing? ... No / Yes

✔ Add an End-to-End Testing Solution? > No

✔ Add ESLint for code quality? ... No / Yes

Scaffolding project in /Users/gregbates/Work/sfmc-vue-form...
When we open our new project folder in our code editor, we’ll see the following folder structure:
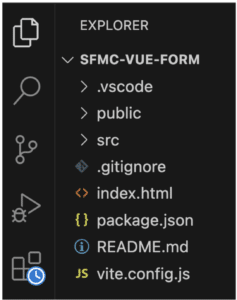
Let’s go ahead and run `npm install` and start our development server so we can see what we’re working with and start building:
gregbates@Greg-X113-Pro sfmc-vue-form % npm install

added 26 packages, and audited 27 packages in 7s

2 packages are looking for funding

run `npm fund` for details

found 0 vulnerabilities

gregbates@Greg-X113-Pro sfmc-vue-form % npm run dev

> sfmc-vue-form@0.0.0 dev

> vite

VITE v4.3.9  ready in 490 ms

➜  Local:   http://127.0.0.1:5173/

➜  Network: use --host to expose

➜  press h to show help
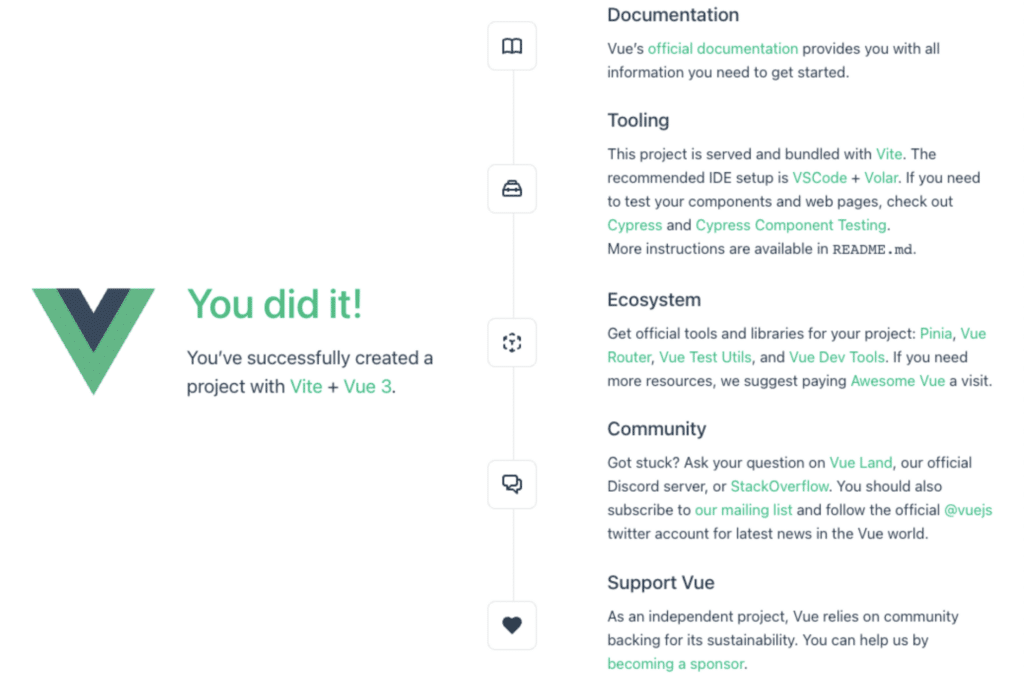
Now if we open our web browser and visit `http://127.0.0.1:5173` we’ll see our shiny new Vue app being served.
Next, we’ll install Tailwind CSS. Follow the directions from the official Tailwind Guide to get Tailwind installed in your project.
Let’s remove the default components and styling, and add our own ‘Hello World’ message with some styling to make sure Tailwind is installed correctly.
App.vue
We should now see:
Great – our Tailwind styles are working and we’re ready to start building our app.
Building The Form
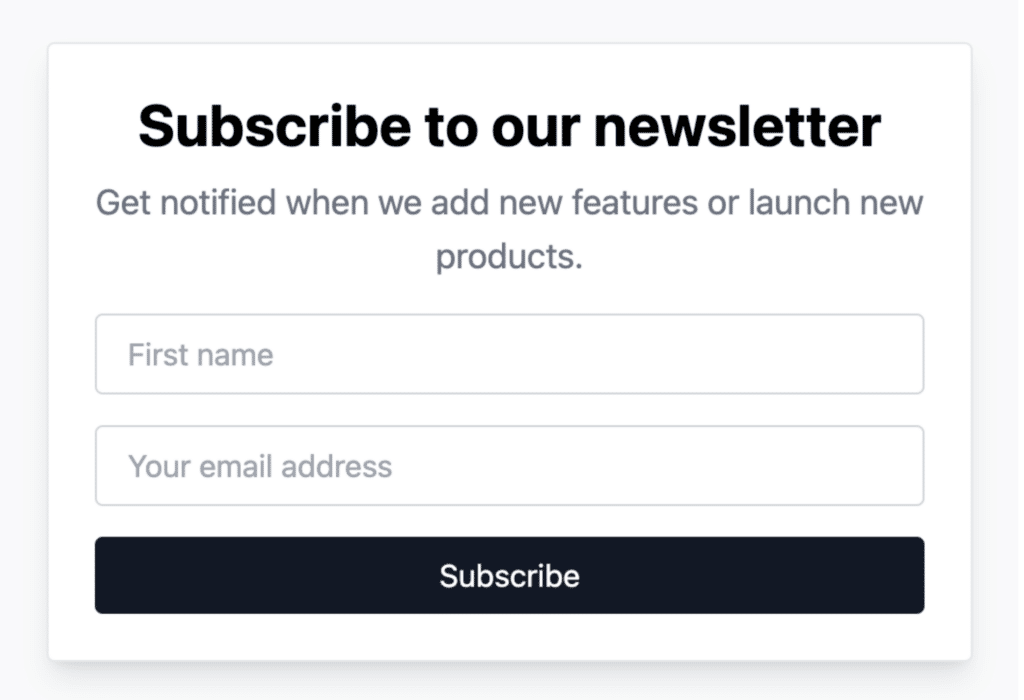
Let’s start out with a simple form:
We’ll go ahead and wire our name and email fields up to refs and trigger a submit function just to make sure everything is working.
You should now see your name and email address logged to the console when you submit the form. Perfect.
Now that the foundation of our form is built, let’s take a look at how we can utilize a code resource hosted on CloudPages to start building out our functionality.
Building our Code Resource API
In order to build the functionality of our form, we’ll need a code resource to act as our API.
Create a file called api.js in your /src folder.
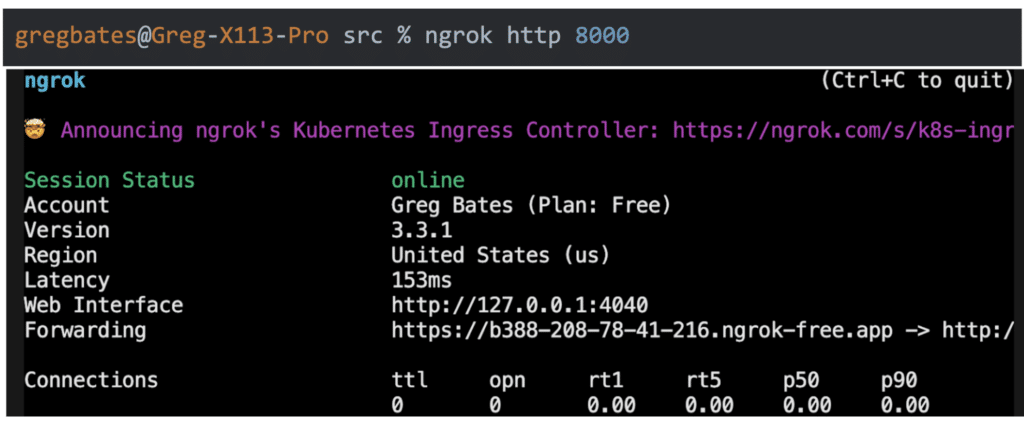
To provide a nicer development experience and avoid the need to keep copying, pasting, and republishing our code resource, let’s use Ngrok to establish a tunnel.
First, we’ll start a local server to serve our api.js file.
gregbates@Greg-X113-Pro src % python3 -m http.server

Serving HTTP on :: port 8000 (http://[::]:8000/) ...
Next, we’ll create a tunnel using Ngrok so that our api is available from the web. If you haven’t used Ngrok before, review the documentation on their website and get yourself a free account.
Now instead of continuously republishing our code resource as we build, we can point our code resource to our Ngrok tunnel so that it’s always serving exactly what’s on our local machine!
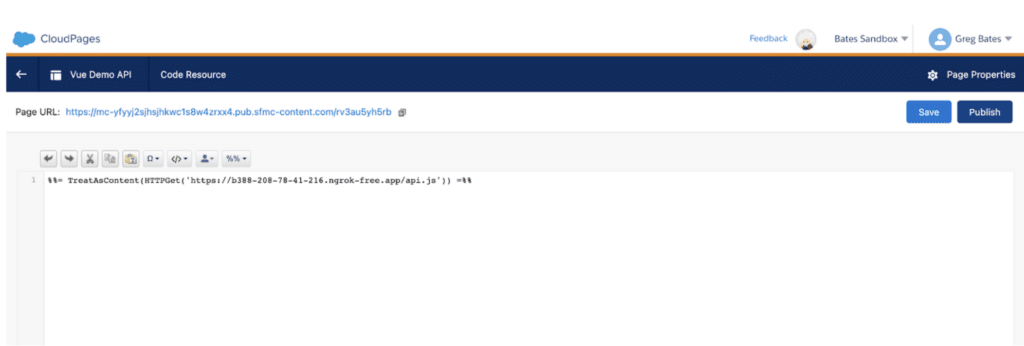
We can point our code resource to our Ngrok tunnel with the following Ampscript:
%%= TreatAsContent(HTTPGet(‘https://b388-208-78-41-216.ngrok-free.app/api.js’)) =%%
Important! Make sure to use your own Ngrok URL (not mine)
Once we publish our code resource, we can visit the CloudPage URL to see that it is working.
Now, let’s add some actual functionality to our code resource and have our form POST to it. I’ve created the following simple data extension called `vue-demo-submissions` to store our form submissions in:
Now we can update our api.js file to store our submissions when we send a POST request to it.
Let’s go over the changes we’ve made here:
- We’ve added some code at the top to allow us to make cross-origin requests. This will need to be tightened up to ensure our solution is secure in production.
- We’ve added an IF statement to only execute this code if we’re dealing with a POST request. This is a good practice, as it will allow us the flexibility of expanding our API in the future. We may want the ability to retrieve information from our API with a GET request as well.
- We then check to see if our contact exists already, or if it’s a new contact. Our example is simple, but in the future it will be useful to know whether the contact submitting our form has any history with us so we can select the most relevant way to handle their submission.
- We simply store or update the submission based on whether they are new or existing.
As we transition to a production setting, handling POST requests will require additional measures. You’ll need to consider robust error handling for any unexpected scenarios or ‘edge cases’, as well as rigorous data validation to maintain security and efficiency. For instance, an email input should be validated to ensure it’s in the correct format. While we’ve enabled CORS here for simplicity, it’s crucial to adjust it appropriately in your production app to strike a balance between accessibility and security. Also, you may want to implement rate limiting to prevent your server from being overwhelmed by excessive requests. Keeping these elements in mind will significantly contribute to the robustness of your production app.
Connecting our Form and API
Now let’s have our form actually POST to the API.
I prefer to use the Axios library for making requests from my Vue applications. You can go ahead and install that in your project from your terminal by typing:
> npm install axios
Now we’ll import Axios into our app.vue file and wire up our form to make the POST request. Here’s what the updated code looks like:
This file is getting pretty big, and we still aren’t displaying a success message after the form is submitted, so let’s start breaking things down into components to illustrate another awesome benefit of this approach to CloudPage development: Single File Components.
Using Single File Components
Vue encourages developers to divide their code into smaller, reusable components, which help to maintain a codebase as it grows larger. To illustrate this, let’s begin by dividing our application into smaller components.
Take a look at how much nicer my app.vue file looks after moving the form to its own component and adding components for my success messages:
Our updated file structure now includes a components folder:
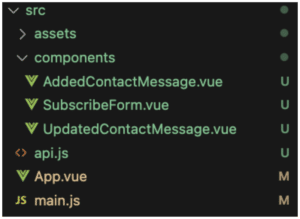
With this approach, the code is more organized and easier to maintain, which is one of the many benefits of using Vue for CloudPage development. Now that we’ve divided our application into components, we can start to add more complex features to our form.
Adding a Contesting Element
Now that we know we can add components to our application in this way, let’s build a button that allows our new subscribers to win “bonus entries” into a contest.
I need my new bonus entries component to have access to my form, so I’m going to refactor a bit more and move everything into my SubscribeForm.vue component. Here’s what it looks like now:
Now when a new contact subscribes, they’ll will be prompted to click the button to earn entries in the contest.

Next, we’ll update our BonusEntries component to send another POST request to our API.
And we’ll make some slight adjustments to our API endpoint to handle the bonusEntries value that we’re now passing.
Deploying Our App to CloudPages
We’re finally ready to push our application into production. To do this, we first need to build our app by typing npm run build in the terminal to tell Vite to package up our app.
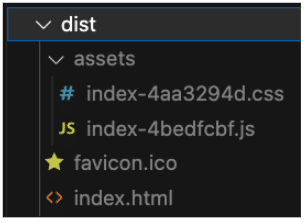
This will generate the following files in our dist folder:
Because we aren’t using Vue Router and only have a single page, Vue has generated just a single javascript file, a single css file, and a single index.html file. All we need to do is copy these over to CloudPages and make a few adjustments.
First, we’ll create code resources for both our JS and CSS files and copy the minified code from our dist/assets folder. We will also copy our api.js file over to our API code resource, since we are currently serving that file via Ngrok.
Next, we will create a CloudPage for our index.html and paste in our code. All we have to do now is update our index.html to point to our code resources. It should look something like this:
Now, whenever you update your Vue app, you’ll just need to update your JS code resource to push your changes live.
Wrapping Up
Hopefully this quick project has given you some ideas on how you can scale up your CloudPage development using frameworks like VueJS, and how you can build more interesting customer experiences to collect zero-party data. Let us know in the comments if you have any questions, and if you’d like to see us dig deeper into this type of CloudPage development.
If you’ve got questions about Marketing Cloud or want to discuss about how you can use Cloud Pages within your organization Get in Touch! We’d love to hear from you.


